How to format a USB drive on Windows — and why you should
Formatting a USB drive is useful not just for clearing out old files but also for preparing brand-new drives and improving reliability. Windows users can complete the process easily by choosing the right file system for their needs.
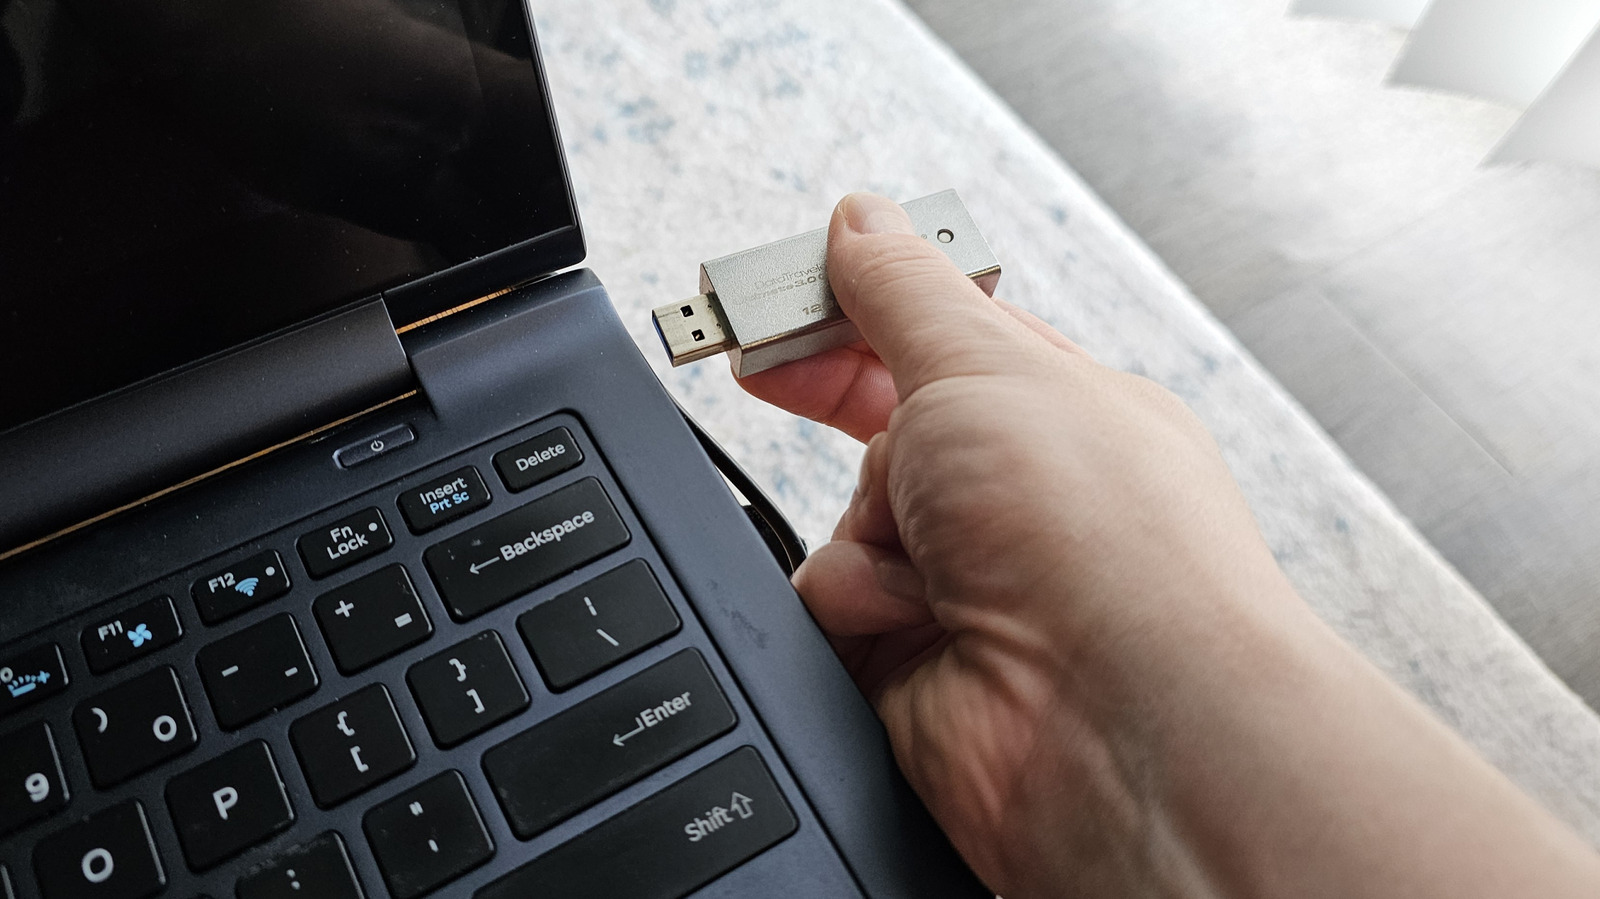
Formatting a storage drive is often thought of as something you only do to clear out a full drive, but it also matters when a drive isn't compatible with your operating system or contains corrupted data. The process does more than delete files — it overwrites sectors so old data can't be recovered, rebuilds the file system, and checks for bad sectors.
It's worth formatting a USB drive before reusing it even after deleting its files, since formatting removes hidden leftover files and potential malware while improving stability. Less commonly known is that brand-new drives should also be formatted, since manufacturers such as SanDisk and Kingston often ship them preconfigured with the older FAT32 format, which struggles with large files.
Choosing the right format
Windows supports three main file systems for external drives. NTFS works best for drives used exclusively with Windows, offering features like encryption support. exFAT is the better choice for drives shared across Linux, macOS, Android or iOS devices, since it supports files larger than 4GB. FAT32 offers the broadest compatibility with older hardware, such as car stereos, but can't handle large files and may cause issues with Windows 11.
The formatting process
To format a drive, plug it into a high-speed USB port, open Windows Explorer, select This PC, right-click the drive and choose Format. Make sure the correct drive is selected and that no programs are still using it. After picking a file system, users can also set the allocation unit size and a volume label before clicking Format and confirming. Depending on the drive's size and how full it is, the process can take anywhere from a few seconds to several minutes.