What is infill in 3D printing, and when do you actually need it
Infill, the internal lattice structure inside 3D-printed parts, affects strength, material use and print time, but higher density alone isn't the key to a strong print. Most models only need a modest percentage.
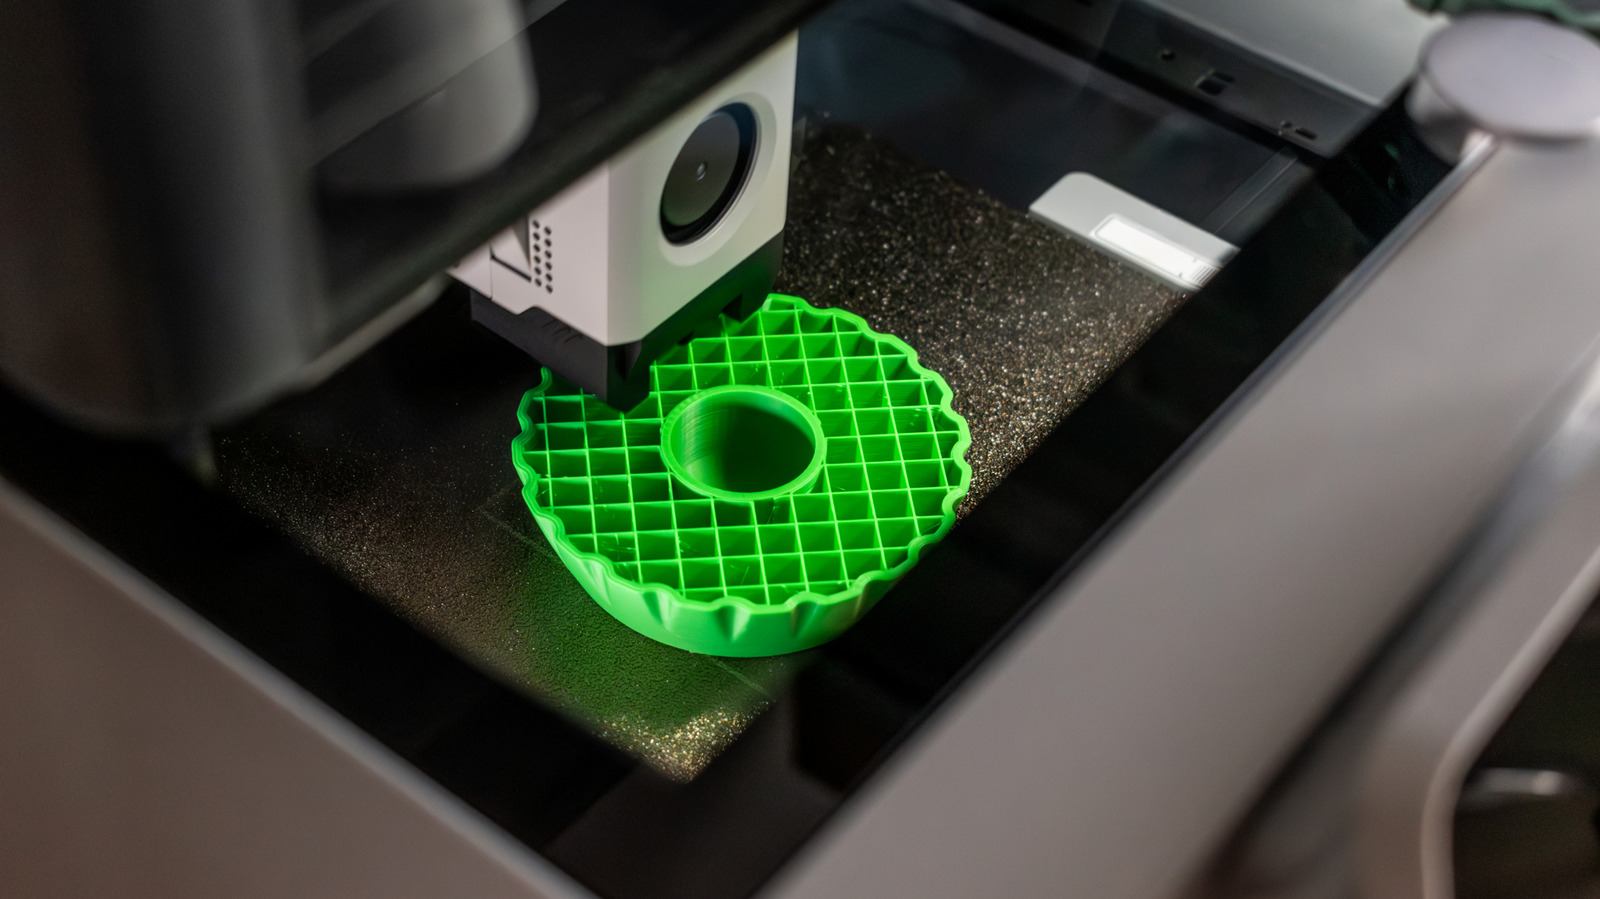
In filament-based (FDM/FFF) 3D printing, the inside of a printed object usually isn't solid plastic. Instead, slicer software generates an internal lattice called infill, which supports the layers above it and adds strength without using a full spool of material on every print. Resin printers typically skip this step, producing solid models by default unless deliberately hollowed out.
Choosing a density
Infill density is expressed as a percentage: 0 percent leaves the model hollow, while 100 percent fills it completely, something rarely needed in practice. Manufacturers Prusa and Flashforge suggest starting points of roughly 10 to 15 percent and 20 percent respectively, while cautioning that neither figure is a hard rule. Decorative pieces or test prints can often get by with minimal infill, while brackets or parts under load benefit from more internal support. Interestingly, even 0 percent infill can work for shapes that taper gradually toward the top, whereas wide flat surfaces with nothing underneath risk sagging as melted filament is laid down with no support. Checking the slicer's layer preview beforehand can catch this before hours of printing go to waste.
Increasing infill density raises material use, weight and print time, and can improve resistance to compression, but the percentage alone doesn't determine a part's overall strength. Wall thickness, print orientation and material choice all factor in, and Prusa notes that adding more perimeters often strengthens a part more effectively than increasing infill.
Infill patterns
Slicers offer multiple infill patterns suited to different needs. Grid provides a simple, general-purpose structure, Cubic builds a three-dimensional lattice for resisting force from multiple directions, and Gyroid uses continuous curves for even strength in all directions, making it popular for functional parts. Lightning infill takes a different approach, branching mainly where upper surfaces need support, saving material and time at the cost of less overall reinforcement.
Beginners don't need to master every infill option before their first print. A default pattern and moderate density are a reasonable starting point, to be adjusted once a specific object calls for it — whether that's a display piece, an enclosure or a load-bearing bracket. Prusa notes that for typical models, infill above 30 percent is rarely necessary.